


Cementitious Terrazzo
-
Detail
Cementitious Terrazzo
Product Description
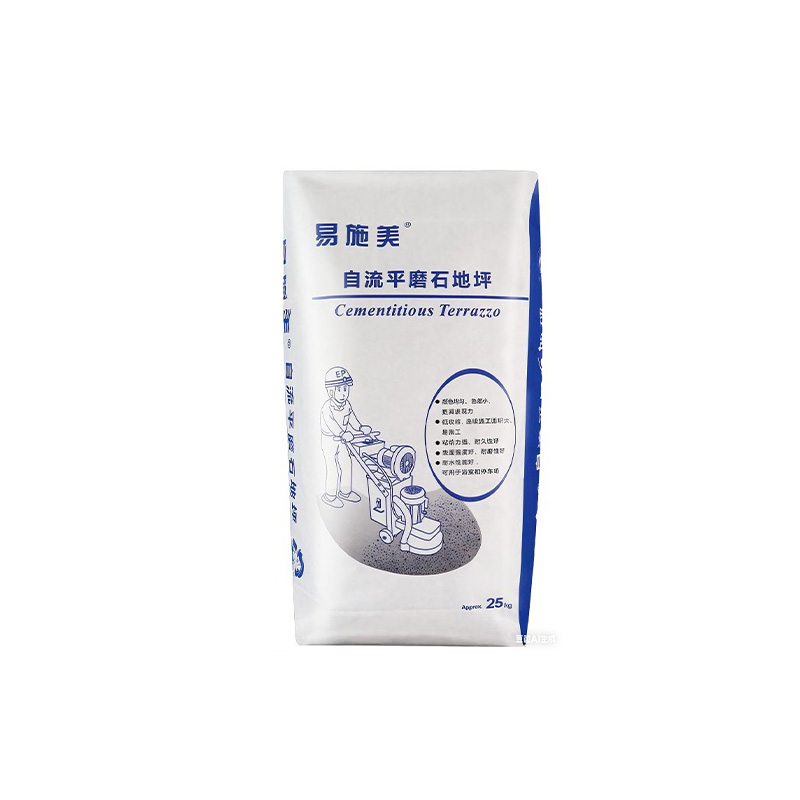
EasyMix Cementitious Terrazzo is an ideal specialized mortarspecifically designed for terrazzo floors, composed ofspecial cement, selected fine and coarse aggregates, andpolymer additives proportionally formulated.
Uses
It is suitable for terrazzo floor construction. add water to the specified dosage, then pour the mixture onto the substrate and spread it level. After curing, grinding and polishing willyield a high-strength, glossy surface. Alternatively, decorative terrazzo flooring can be achieved by incorporating aggregates or using color-separation techniques.
Advantages
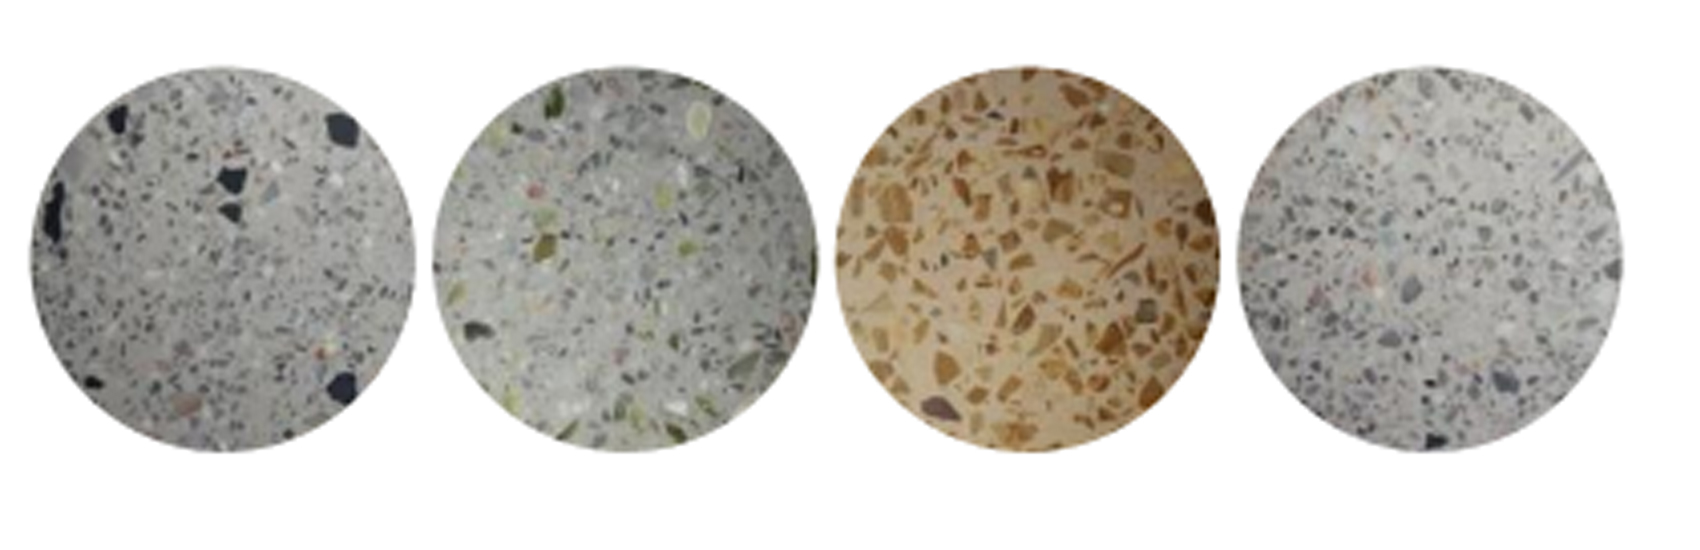
1.Excellent color consistency with minimal variation for enhanced decorative appeal.
2.Low shrinkage, allowing for large continuous application areas.
3.High bond strength and excellent durability
4.High surface strength and good abrasion resistance.
5.Good water resistance, suitable for bathrooms and parking garages.Specification & Technical data:
Product CharacteristicsCementitious TerrazzoImpact Resistance24h Flexural Strength (MPa)≥224h Compressive Strength (MPa)≥628d Flexural Strength (MPa)≥828d Compressive Strength (MPa)≥3028d Tensile Bond Strength (MPa)≥1.528d Dimensional Change Rate (%)-0.1~+0.1Abrasion Resistance (mm³)≤400Site Investigation
1.Conduct a comprehensive survey of the floor, test the concrete strength, and assess specific conditions such assurface dusting, blistering, and cracking to confirm whether the base floor is suitable for terrazzo system renovation and to determine the specific construction plan.
2.Measure the flatness of the subfloor, determine the construction thickness and material consumption
3.Check the availability of water, electricity, dust disposal, slurry drainage, and material transport on site.Subfloor Preparation
1.Cut, clean, and repair cracks in the floor
2.For newly poured concrete floors with normal strength and adequate curing time, use a grinder to remove laitanceor weak surface layers from the concrete surface.
3For the renovation of old and damaged floors, if surfaces are too smooth, dirty, or have isolating substances likeadhesive, floor paint, or oil stains, use a shot blasting machine or floor planer for overall shot blasting or planing treatment. After treatment, sweep clean promptly and use a high-power industrial vacuum to thoroughly remove debris and dust.
4.After cleaning the floor with a vacuum or clean water, apply a concrete bonding agent for interface treatment.
5.If subfloor cracking is severe or the terrazzo application thickness is excessive, please contact our company'stechnical personnel to seek a reliable solution.Terrazzo Pouring
1.Use an electronic scale to weigh the mixing water and terrazzo powder. Do not arbitrarily increase the wateramount, otherwise issues such as aggregate settling and cracking may occur
2.Use a high-power, low-speed paddle mixer for mixing. For small areas, a double-handed mixer can be used. Mixinitially for 2 to 3 minutes until uniform and thorough, let it mature for 2 minutes, then mix again for 1 minute before pouring onto the floor.
3.Spread the material evenly onto the floor in horizontal strips. Use a notched trowel to quickly level the material. Alaser level and aluminum straightedge can assist to ensure pouring flatness and aggregate spread evenly. Immediately after pouring, use a stainless steel spiked roller to roll the surface horizontally; this eliminates air bubbles in the material and compacts the aggregate. Finally, finish with a stainless steel trowel to remove defects like roller marks. Close doors and windows in the construction area to allow the floor to dry and cure naturallJoint Cutting Treatment
Two days after the terrazzo pouring is completed, promptly use a joint cutting tool to cut the self-leveling terrazzo surface layer along the original expansion joints of the floor to prevent cracking at the joint locations due to base shrinkage.
Grinding & Polishing
1.Before grinding, use a laser level and a 2m straightedge to check the flatness of the floor
2.Use 50-150 mesh diamond grinding pads to grind down high spots until flatness meets standards, exposingall aggregate textures.
3.Use a vacuum cleaner to remove powder (dry grinding) or slurry (wet grinding). A small number of holesexposed after grinding can be repaired using terrazzo material of the same color.
4.If necessary, a hardener can be applied
5.After the floor is fully hardened, use grinding and polishing until 1000~2000 mesh to achieve the final desiredgloss level.Expansion Joint Treatment
Clean the expansion joints and fill them with elastic sealant. This achieves an aesthetic, clean, and durablefinish, perfectly presenting the effect. The floor can be put into use directly
Finished Product Protection
Clean the floor after construction is completed. A suitable sealer can be applied as needed to achieve a
Precautions
1.The application temperature range is 5–35°C, with an applicable thickness of 10–30 mm. Familiarize yourself with the entire construction process before starting work.
2.Water must be added strictly according to the mix ratio. Excessive water may cause segregation of binder andaggregate, settlement of sand and stone, reduced strength, shrinkage, and cracking.
3.This product contains cement, which can produce an alkaline reaction when mixed with water. Take care to protectthe respiratory tract, eyes, and skin. If it gets into the eyes, rinse immediately with plenty of clean water and seek prompt medical attention
4.Shelf Life: When stored in its original, sealed packaging in a dry, cool, and well-ventilated environment, the producthas a shelf life of 9 months under normal storage and transportation conditions. -
Customer ReviewsNo comments